Have you ever created a file in Photoshop and realized you need to add bleed around it? While page layout programs like InDesign are built to handle bleeds relatively easily, Photoshop, by comparison, is much more time-consuming.
If you’re like me, you used to add bleed by starting with a desired document size. Then you’d have to calculate bleed around the edges, add it to the document size, and create a new Photoshop file. Then you’d carefully draw guides 1/8″ or .125″ (or 9 pts if you’re using picas) all the way around the document. Guides are important. We want those. But for those creating a document on the fly, this may be a little more time-consuming than we’d like.
The solution
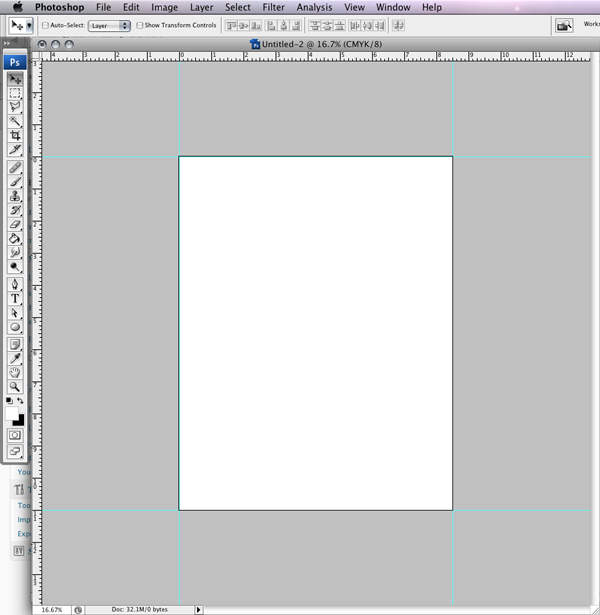
Create a document at the desired size. For example, 8.5 x 11 inches. Draw 4 new guides by dragging 2 down from the ruler on top, and 2 across from the ruler on the left – and have them snap to the very edge of the document, all the way around. To show the ruler, press Command + R (Windows Ctrl + R).
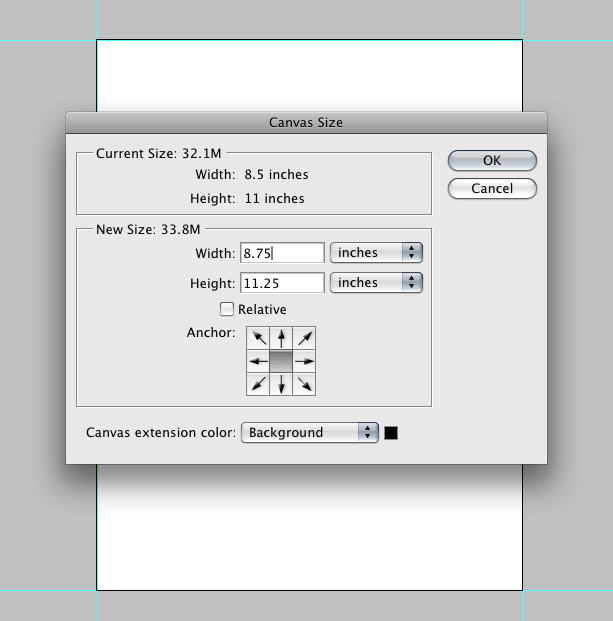
Then go to Image -> Canvas Size, and add .25 inches to the width and height of your canvas. IMPORTANT: Make sure the anchor is set to “Centered”. In our case, the dialog box will look like this:
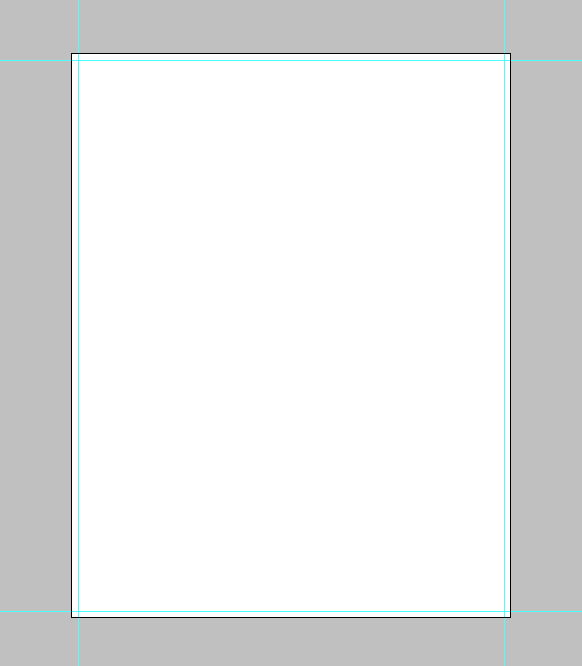
Then simply click “OK” and your document will be perfectly sized with the bleed added! The guides stay in the place that you drew them (marking the document’s edge), but the size of the document is now larger to account for the bleed. This is especially useful when I’m placing a Photoshop file into InDesign at 100%.


Comments are closed.